

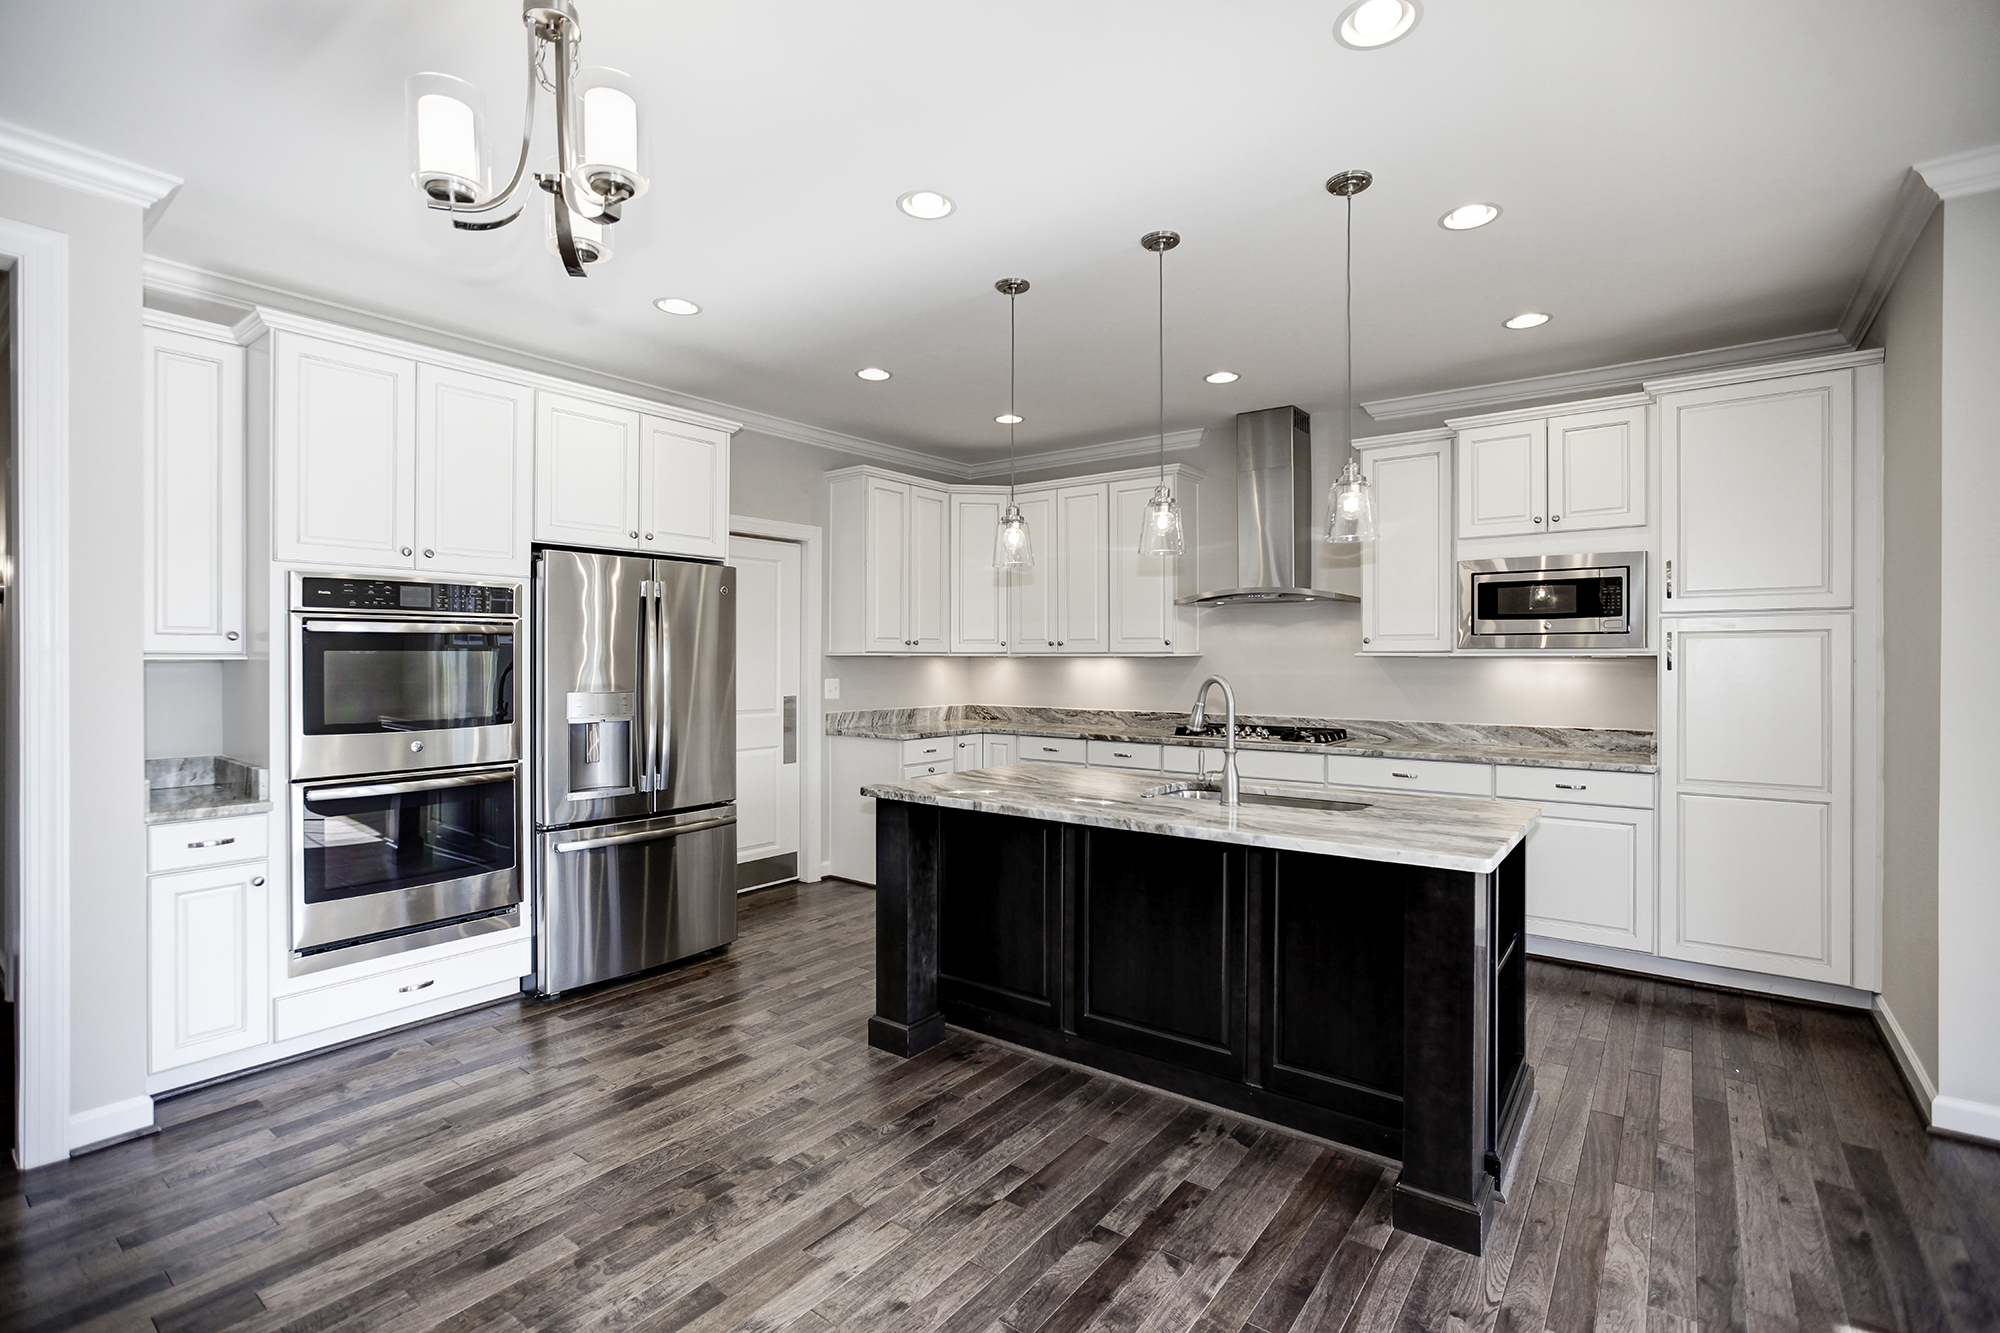
DIY laminate can look pro-level, but laminate is brutally honest: if your subfloor is uneven, your seams aren’t tight, or your expansion planning is sloppy, the floor will tell on you. Loudly. Usually at night. Usually in socks.
At Pavich Flooring, we’ve seen two installs with the same product have totally different outcomes. The difference is almost never “skill.” It’s small-step discipline. If you’re planning a DIY and want it to last, use this checklist before you snap the first plank, and again before you call it done.
The 27-step checklist
Planning + materials
Confirm the room is appropriate (no chronic moisture, no active leaks).
Buy 7–12% extra material (more for diagonal layouts and tricky cuts).
Match plank thickness and performance to the space (traffic, sound, flex).
Read the warranty exclusions: expansion, moisture, and underlayment mistakes often void coverage.
Decide your install direction (usually along the longest wall or main sightline).
Plan transitions where the floor must stop (doorways, long runs, material changes).
Subfloor truth (this is where installs win/lose)
7) Pull baseboards (don’t rely on quarter round to hide bad gaps).
8) Remove old tack strips, staples, high nails, and debris.
9) Check flatness with a long straightedge; mark humps and dips.
10) Grind high spots; fill low spots with the correct leveling compound.
11) Vacuum thoroughly; dust under underlayment becomes “crunch.”
12) If on concrete, verify moisture risk and use the correct vapor barrier system.
Underlayment + barrier
13) Use the manufacturer-approved underlayment (wrong pad = joint stress).
14) Tape seams cleanly; don’t overlap unless specified.
15) Keep underlayment tight to walls without bunching.
Layout + first rows
16) Measure your first and last row widths; avoid ending with a 1-inch “sliver row.”
17) Establish a straight reference line; don’t trust crooked walls.
18) Leave the correct expansion gap on all fixed edges (walls, cabinets, posts).
19) Stagger end joints properly (avoid H-joints and repeating ladders).
20) Mix planks from multiple boxes to reduce visible repeat patterns.
Cuts + obstacles
21) Undercut door jambs so flooring slides under cleanly (not hacked around).
22) Drill oversized holes around pipes; use escutcheons, not tight fits.
23) Maintain expansion around islands or fixed cabinetry per manufacturer guidance.
24) Keep click-lock edges clean; tiny debris prevents full locking.
Click-lock technique
25) Engage joints fully without damaging edges: correct angle, consistent pressure, no “beating it into submission.”
26) Immediately fix any seam that isn’t tight; small gaps become bigger gaps.
27) Install transitions correctly so the floor can move; never pin the floating field.
Post-install: don’t ruin it on day one
Laminate hates being trapped. After install:
Reinstall baseboards with care (don’t compress the floor).
Use felt pads on furniture and avoid dragging heavy items.
Clean with the right method (no soaking wet mops).
If you treat laminate like a precision system (flat base, clean locks, movement room), it can look incredible and wear hard for years. If you want DIY-friendly guidance on the right specs, underlayment, and product choices, visit or contact Pavich Flooring. We help homeowners across Cleveland, Parma, Akron, Lorain, Elyria, and Lakewood, OH pick laminate solutions that match real life, then install them with less stress and better results.


